

Table of Contents
- Why Proper Dusting Matters for Your Collection
- Best Tools for Cleaning Anime Figures
- Safe Cleaning Solutions for PVC Figures
- Step-by-Step Dusting Process
- Handling Delicate and Painted Parts
- How to Display Gundam Models to Avoid Dust
- Common Cleaning Mistakes to Avoid
- Cleaning Frequency and Maintenance Schedule
Last Updated: August 24, 2026
Why Proper Dusting Matters for Your Collection
Dust accumulation on anime figures embeds into paint finishes and crevices, creating a tacky surface that's difficult to remove without damage. The longer dust sits, especially on PVC plastic where static electricity attracts particles, the more it bonds to the surface. Collectors who neglect maintenance face a difficult choice: accept visible buildup or risk aggressive cleaning that strips paint and scratches details.
At Utopia Toys and Models, we work with collectors who've invested significantly in their collections. The most common regret we hear isn't about purchases, but about damage from improper cleaning. A few minutes of careful maintenance every few weeks prevents the need for risky deep cleaning later. The key difference between collectors with pristine displays and those with damaged figures comes down to understanding which tools work and which ones destroy.
Best Tools for Cleaning Anime Figures
Soft-Bristled Brushes and Microfiber Cloths
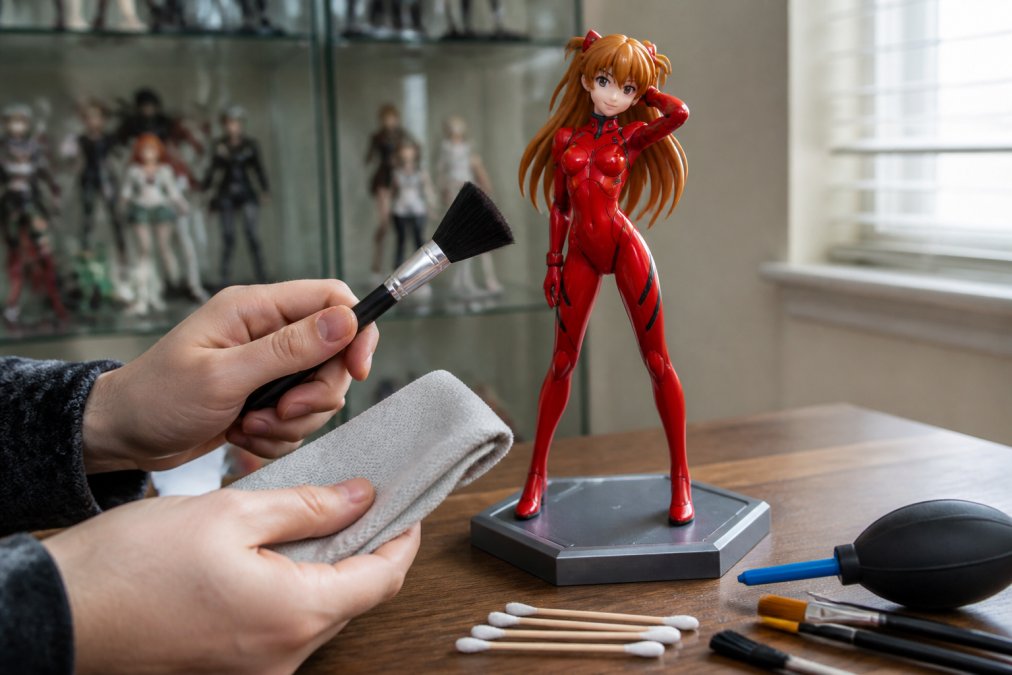
A soft-bristled brush is your primary dusting tool. Artist brushes, makeup brushes, or specialized figure cleaning brushes work well. The bristles should be flexible and fine enough to reach crevices without scratching paint. Avoid natural bristles that shed; synthetic options are more reliable.
Microfiber cloths are equally essential. Unlike cotton cloths that leave lint and scratch surfaces, microfiber is lint-free and gentle on paint finishes. The material naturally traps dust rather than pushing it around. For PVC figures, microfiber prevents static electricity from reattaching particles after brushing.
When selecting a brush, test the bristles against your palm, they should feel silky, not stiff. Keep your brush clean by rinsing it monthly and air drying completely before storage.
Compressed Air and Static Control
Compressed air removes dust from hard-to-reach areas where brushes can't fit. However, it requires technique. Hold the can upright and spray in short bursts to prevent liquid propellant from reaching figures, which damages paint and creates frosting on plastic.
Compressed air generates static electricity, which ironically attracts more dust after cleaning. Use an anti-static cloth or mat during and after compressed air cleaning to counteract this. Never hold cans at an angle or spray continuously for more than 2-3 seconds. Hold the nozzle at least 6 inches from your figure.
Safe Cleaning Solutions for PVC Figures
PVC plastic requires specific care. Certain chemicals cause plasticizer migration, where solvents leach oils from the plastic, leaving it brittle, discolored, or tacky (peer-reviewed research).
Distilled Water and Mild Dish Soap
For stubborn dust, mix distilled water with a small amount of mild dish soap (approximately 20 parts water to 1 part soap). Apply with a soft cloth, never by spraying directly on the figure. Dampen the cloth, wring it thoroughly so it's barely moist, and gently wipe affected areas. Work in small sections and dry immediately with a separate lint-free cloth. Never soak figures or let liquid pool on surfaces.
Distilled water is crucial, tap water contains minerals and chlorine that can leave residue or cause discoloration on painted surfaces.
What to Avoid: Chemical Hazards
Isopropyl alcohol, acetone, and other organic solvents are off-limits for PVC figures (the CDC). These chemicals cause plasticizer migration, making plastic sticky, discolored, or warped. Abrasive cleaners, bleach-based products, and harsh degreasers belong nowhere near your collection. When in doubt, stick with distilled water and mild soap, this combination handles 95% of cleaning needs without risk.
Step-by-Step Dusting Process
Step 1: Prepare Your Workspace
Set up on a clean, flat surface with good lighting. Use a soft mat or towel underneath to prevent figures from rolling. Gather all tools: soft-bristled brush, microfiber cloth, compressed air canister (if using), and distilled water plus mild soap in a small bowl.
Ensure your workspace is dust-free. Wipe down your work surface with a damp cloth and allow it to dry. Good lighting is non-negotiable, you need to see dust particles and potential paint damage.
Step 2: Dry Dusting with Soft Tools
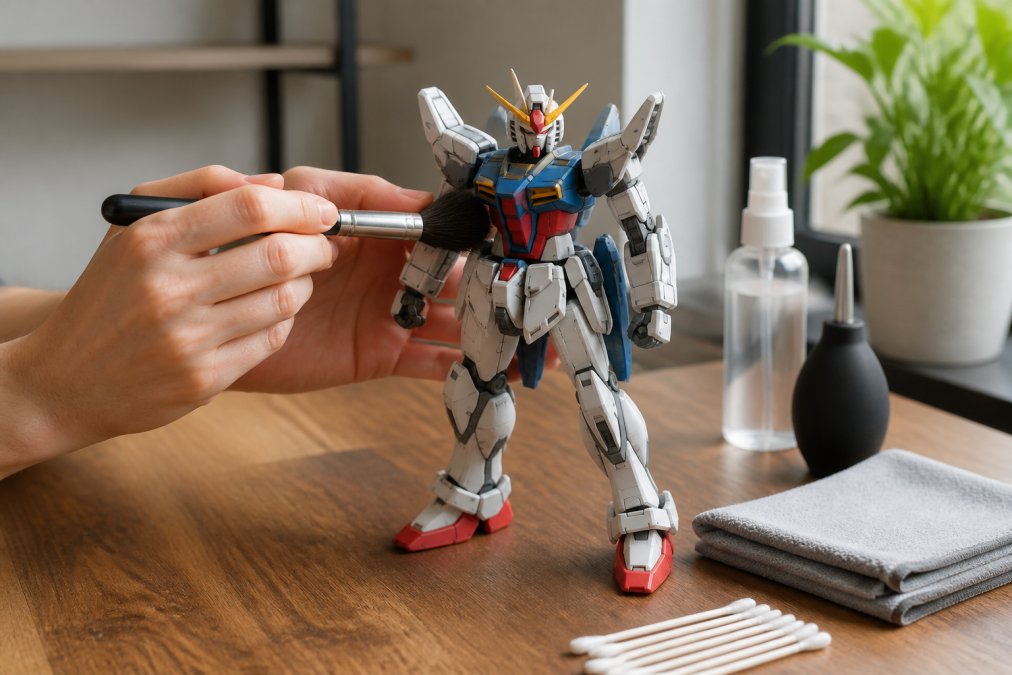
Begin with the soft-bristled brush using gentle, directional strokes moving downward and outward from the figure's center. Work methodically from top to bottom: head, torso, limbs, base. For delicate painted details, use even lighter pressure and let the brush weight do the work.
After brushing, use the microfiber cloth to wipe away loosened particles. Fold the cloth into quarters to create a clean surface for each section. For crevices and joints where the brush can't reach, use compressed air in short bursts at 6 inches away for no more than 2-3 seconds. Follow immediately with the microfiber cloth to capture dislodged particles before static reattaches them. packing fragile figures.
Step 3: Gentle Wet Cleaning for Stubborn Residue
If dry dusting leaves visible residue or sticky spots, dampen a corner of the microfiber cloth with your distilled water and mild soap solution. The cloth should be barely moist, not dripping.
Test the solution on a hidden area first, such as the figure's base. Wait 30 seconds and check for discoloration or texture change. If the test area looks fine, proceed with cleaning visible surfaces using small circular motions. Work on one area at a time and dry immediately with a separate dry cloth. Never let moisture sit on the figure.
Step 4: Drying and Air Circulation
After wet cleaning, allow the figure to air dry completely before returning it to display. This typically takes 30-60 minutes depending on humidity. Position the figure in a location with good air circulation but away from direct sunlight or heat sources. Never use heat sources like hair dryers to speed drying.
Once completely dry, give the figure a final inspection. If you find any remaining sticky spots, repeat the damp cloth treatment on just that area and allow it to dry again.
Handling Delicate and Painted Parts
Figures with intricate painted details, metallic finishes, or delicate appendages require extra caution. For painted faces and eyes, use the softest possible brush with minimal pressure. Many collectors use old toothbrushes with bristles carefully trimmed shorter and softer.
Metallic paint is more prone to scratching than standard acrylic paint. Avoid compressed air on metallic surfaces and use only the gentlest dry brushing. Delicate appendages, thin swords, extended hair pieces, or fragile joints are easily broken during cleaning, support these parts gently while dusting nearby areas.
Never use paper towels or tissues on painted surfaces; the abrasive texture scratches paint. Stick exclusively with microfiber cloths.
How to Display Gundam Models to Avoid Dust
Dust-proof display cases are the gold standard for high-value figures. Glass or acrylic cases create a barrier that prevents airborne particles from settling on your collection.
If cases aren't an option, position figures away from high-traffic areas, heating vents, and air conditioning returns. Grouping figures together creates a microclimate less exposed to air currents than isolated displays. Figures at the back of a shelf collect less dust than those at the front edge.
Regular inspection every two weeks allows you to address minor dust accumulation before it requires wet cleaning. Moderate humidity, around 40-50%, is ideal for both dust control and plastic longevity (si.edu).
Common Cleaning Mistakes to Avoid
Using paper towels or tissues is the most common mistake, these materials scratch paint. Microfiber cloths are non-negotiable.
Spraying cleaning solution directly onto figures creates pooling and moisture that seeps into joints. Always apply solution to a cloth first. Pressing hard with a brush is tempting but counterproductive; gentle, repeated light strokes remove dust more effectively than aggressive scrubbing.
Neglecting to dry figures immediately after wet cleaning causes discoloration and residue rings. Dry each section as you clean it. Using tap water instead of distilled water leaves mineral deposits. Test cleaning solutions on hidden areas before applying them to visible surfaces, this simple step prevents damage.
Store brushes bristle-up in a cup or holder to maintain their shape and extend brush life.
Cleaning Frequency and Maintenance Schedule
Figures in dust-proof display cases need cleaning only 2-3 times per year. Figures on open shelves benefit from monthly dry brushing. Figures in high-traffic areas or near kitchens may need weekly inspection and dry brushing.
Wet cleaning should happen only when dry brushing doesn't remove visible residue, typically 2-4 times per year per figure. Seasonal deep cleaning is useful once or twice yearly. Keep a cleaning log for high-value figures noting the date of each cleaning and any issues observed.
| Cleaning Task | Frequency | Time Required | Method |
|---|---|---|---|
| Dry brushing | Monthly | 5-10 min per figure | Soft brush + microfiber cloth |
| Inspection for residue | Monthly | 2-3 min per figure | Visual check + light touch test |
| Wet cleaning | As needed (2-4x yearly) | 10-15 min per figure | Damp cloth + distilled water/soap |
| Deep collection cleaning | Seasonally | 2-3 hours | Full dry + wet cleaning process |
| Case/shelf cleaning | Quarterly | 10-15 min | Dust display surfaces only |
Proper figure maintenance is an investment in your collection's longevity. Selecting appropriate tools, understanding material safety, and following a systematic process prevent the damage that makes collectors regret their cleaning attempts.
Utopia Toys and Models helps collectors build and maintain valuable collections. When you're ready to add new figures to your display, our curated selection from brands like Bandai, Funko, and Kotobukiya ensures you're starting with quality pieces worth protecting. Explore our inventory of anime figures and Gundam models, all in stock and ready to ship.
Frequently Asked Questions
What is the best tool for dusting figurines?
Soft-bristled brushes and lint-free microfiber cloths are safest for dusting figures without damage. For hard-to-reach crevices, use compressed air. Avoid abrasive materials like paper towels or rough cloths that can scratch paint or strip delicate details from PVC figures.
Can dust permanently damage PVC or painted figures?
Yes, dust accumulation can cause permanent damage over time. Dust particles trap moisture and can lead to surface finish degradation, paint transfer between parts, and corrosion in tight crevices. Regular cleaning prevents residue buildup that hardens and becomes difficult to remove without scratching. Environmental factors like humidity and UV damage compound the problem, making preventative maintenance essential for collectors.
How often should you clean your model kits and figures?
Clean figures every 2-4 weeks if they're in a dust-proof display case, or monthly if displayed openly. High-humidity environments or areas with poor air circulation require more frequent cleaning. Inspect figures regularly for dust accumulation and tacky surfaces. Gundam models and detailed figurines benefit from gentle, consistent maintenance rather than infrequent deep cleaning, which poses higher damage risk.
What cleaning solutions are safe for PVC figures?
Distilled water mixed with mild dish soap is the safest cleaning solution for PVC figures. Use a ratio of one drop of soap per cup of water to avoid residue. Dampen a microfiber cloth rather than submerging the figure. Never use harsh chemicals, alcohol, or abrasive cleaners that cause plasticizer migration or degrade paint. Always test on an inconspicuous area first, especially on delicate or vintage figures.
This article was written using GrandRanker